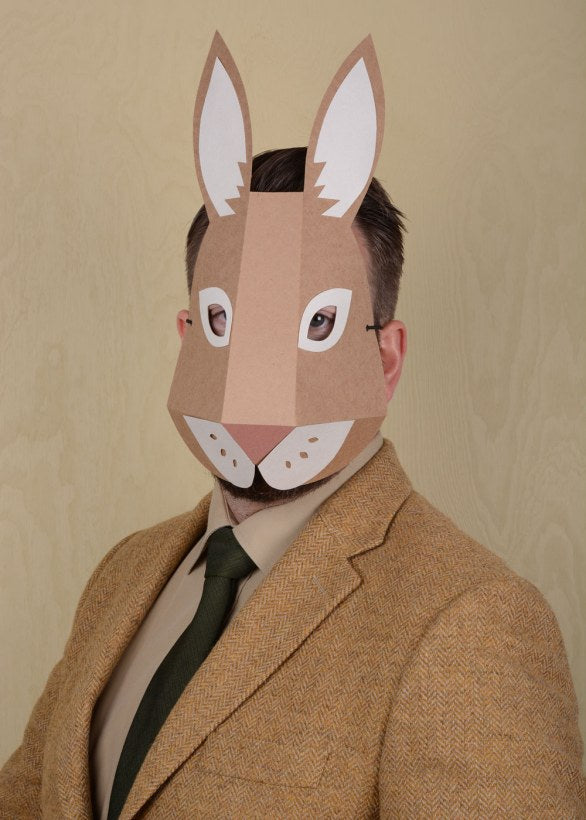
Paper masks are great fun and easy to make. Below you will find the procedure - step by step - for how to make a mask shaped like a hare.
This is what you need to make the hare mask:
- 250–300 gram paper
- Tape
- Pencil
- False leg
- Ruler
- Scissors
- Cutting knife and glue.
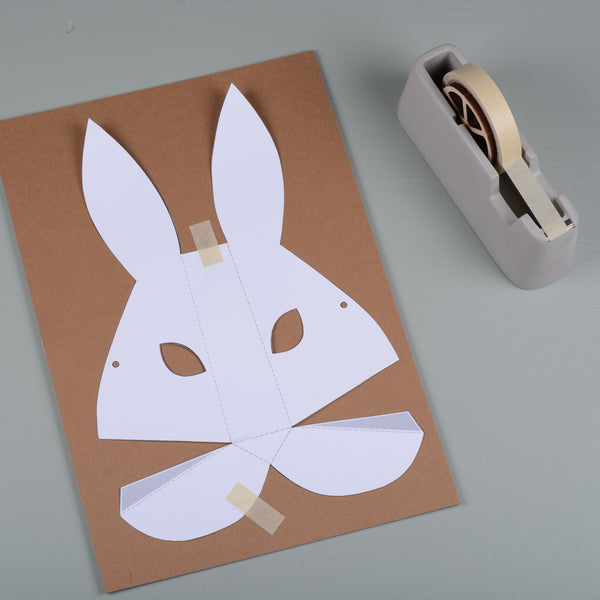
Step 1: Download this template and print it out on thick white paper. The size of the template is A3. Follow the instructions on the template and then cut or cut out the template. Then tape the template onto a 250-300 gram colored paper.
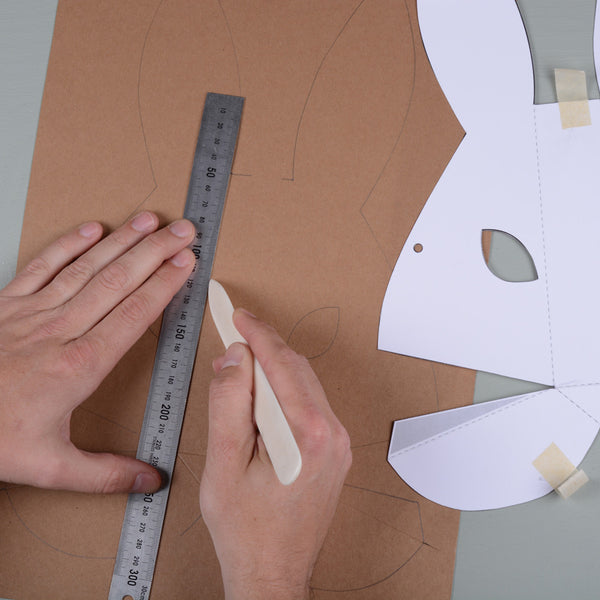
Step 2: Then draw around the template on the paper. Also remember eye holes and small holes. Also make small marks in the extension of the groove lines outside the template. This way you have small marks that you can use as a guide when you have to roll up the fold edges in the next step.
Also draw with a little extra pressure at the points where the groove lines meet. You can also use these points as a guide when you groove.


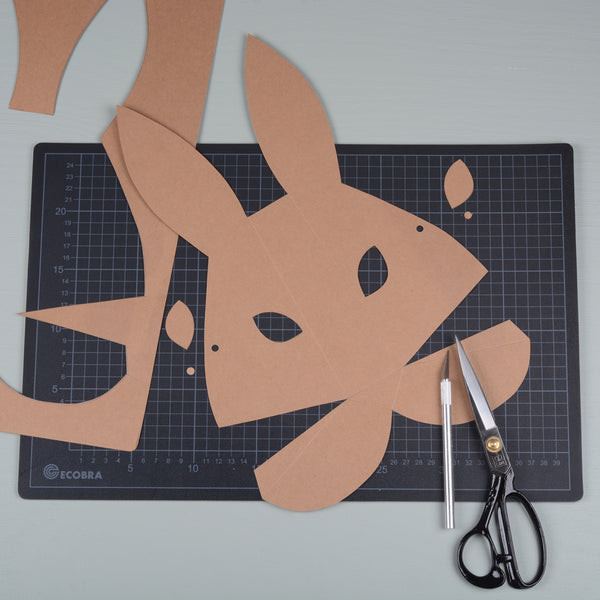
Step 3: Then remove the template and use the small marks and dots to groove where all the groove lines should be. You can also use the template as a reference if you are unsure where all the grooves should be. Then cut or cut out the mask shape.
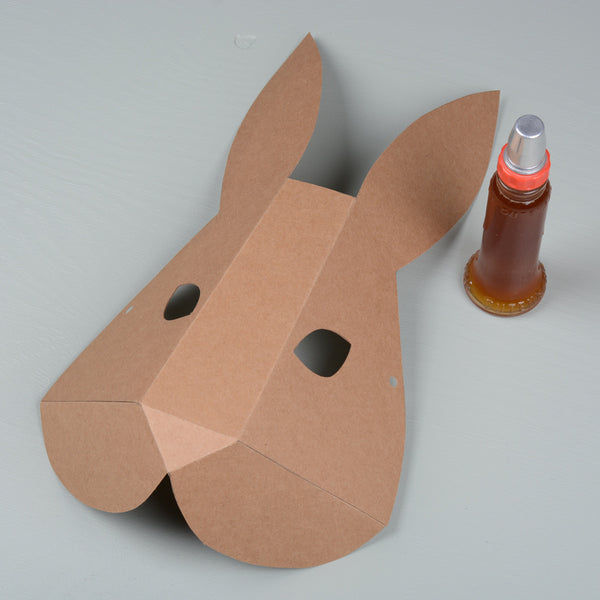
Step 4: Then carefully fold up all the edges you have grooved. This is how the mask takes its shape and it becomes three-dimensional.
Then apply glue to the areas marked in gray on the template and glue firmly to the back on the opposite side. Then let the glue dry.
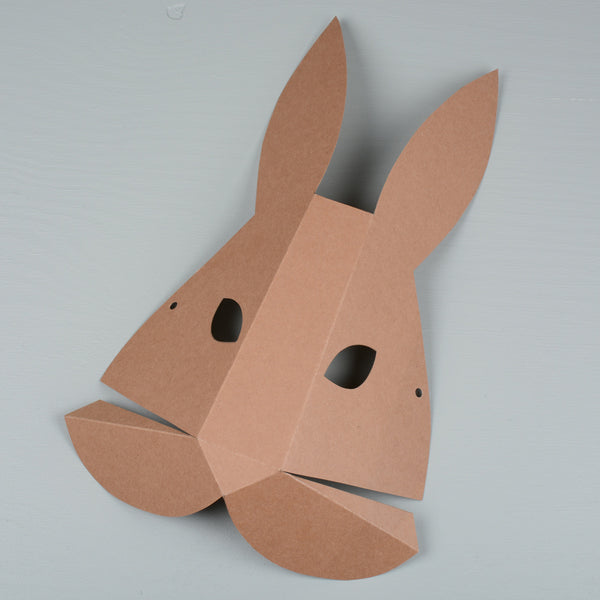
Finished result: Then use your imagination and decorate the mask as you like.