Poinsettia
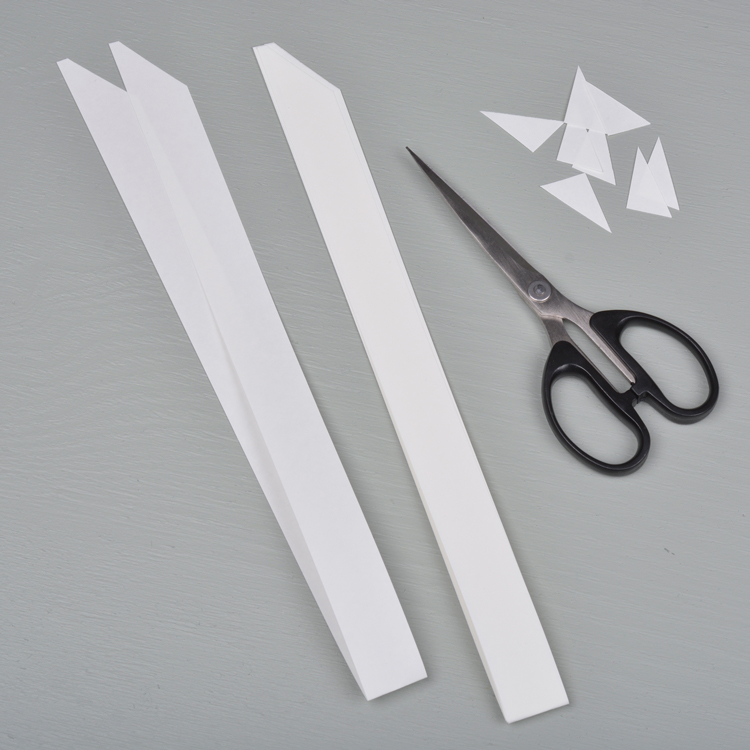
Here's a classic paper project that everyone should know. The star originated in Germany, and the man behind it is Friedrich Froebel. It is often called a Froebel star. Traditionally, it was dipped in paraffin wax and sprinkled with glitter. You need: 4 strips of paper in size 1.5 x 45 cm and a pair of scissors. It is important that the paper you use is not too thick. I recommend from 100 to 150 grams.
STEP 1: FOLD AND CUT
Fold the 4 strips in half, and diagonally cut all ends so that you are left with a point. Fold all the strips in half and cut off the corner on all tips.
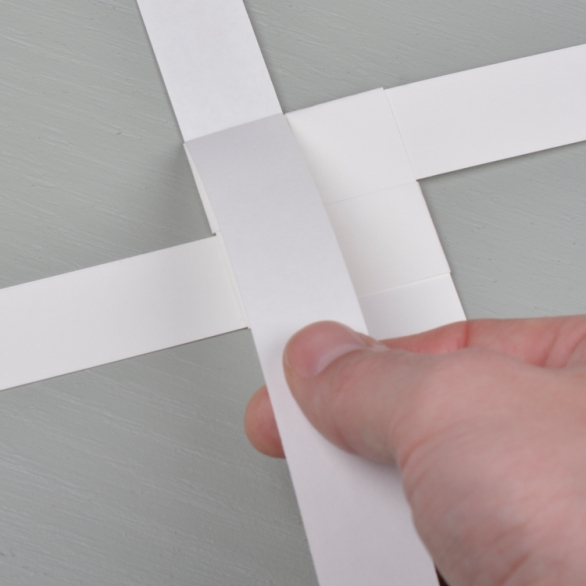
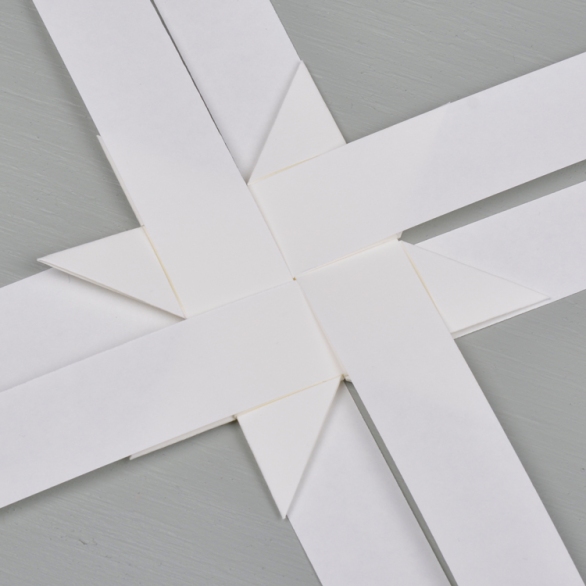
STEP 2: BRAIDE TOGETHER
Place a strip around the first strip. Then place the third strip around the second. Then put the fourth strip around the third, but now push both ends of the fourth strip into the pocket of the first strip. Then drag all the strips so that the strips lock together into a square. When making all the boards in this project, it is important to press them flat and sharp for a nice result.


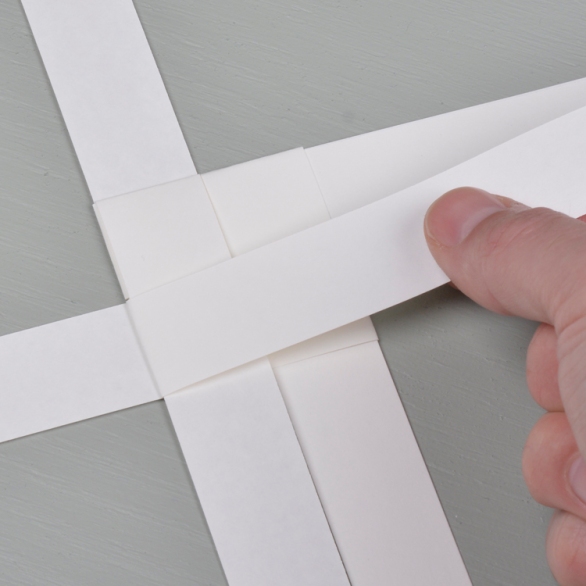
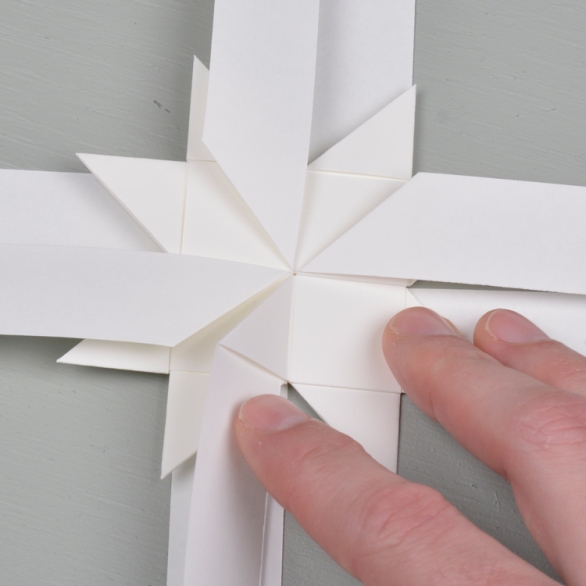
STEP 3: DIVIDE STRIPS
Start by folding the top fourth strip down towards you. Then fold over the top third strip to the right. Then fold the top second strip upwards. Then fold the top first strip to the left, but also push the tip into the pocket of the fourth strip. Press all folds flat and sharp. Now start by folding the top fourth strip back towards you. Make a sharp flat crease right by the square. Then fold the top third strip to the right, and push flat. Then fold the top second strip up and push flat. Then fold the top first strip to the left, but now also push the tip inside the loop of the fourth strip. Push flat.


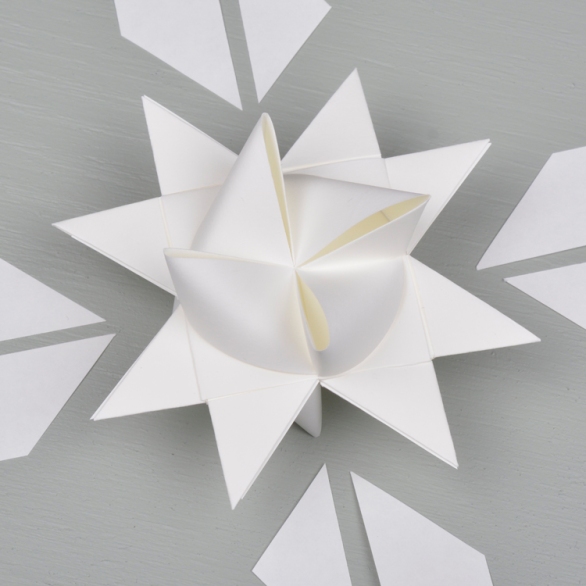
STEP 4: MAKE A STAR TIP
Then fold the strip at the top right down towards you. Then bend the strip up again 45 degrees so that it lies over the strip on the right, and make a slanted board on the inside. Then flip this whole strip up. Then make an inclined fold at the top of the strip so that it lies parallel to itself. Then flip this strip over to the left so that it lies over itself. Then carefully bend the new star tip backwards and slide the tip of the strip into the top pocket of the center square. It will then come out in the middle of the square. Carefully pull the tip towards you until the star tip lies flat again.


STEP 5: MAKE STAR TIPS
Then rotate the project and make such star tips on all 4 right corners. Also turn the whole project around, and repeat on all 4 right corners there as well. 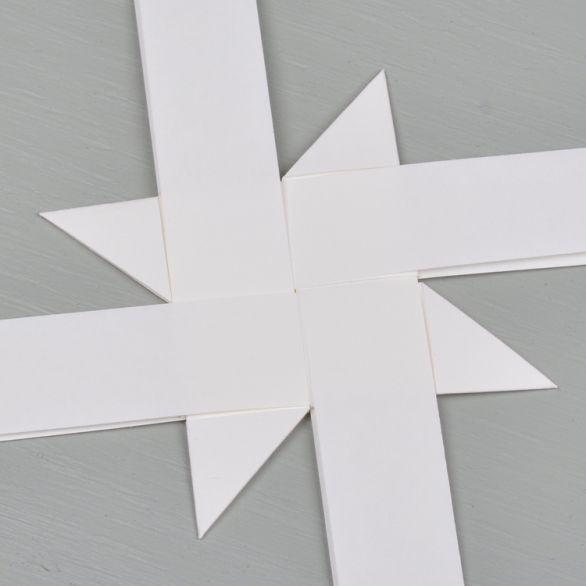
STEP 6: CLEARLY FOLD INTO STANDING STAR TIPS
Then fold the strip from left to right. And then bend the strip 45 degrees down on itself. Make a slanted fold inside. Then rotate the project and repeat on all 4 strips. Also turn the project around, and repeat on the 4 strips there as well.


STEP 7: MAKE STANDING STAR TIPS
Then bend the bottom strip slightly to the left. Then push the tip into the pocket in the middle of the square. It will stick out again in the top star tip. Gently pull the tip of the strip to create a standing star tip.


STEP 8: TURN AND MAKE TIPS
Then turn the whole project around and make standing star tips on all 4 corners as well. Then cut off all the tips that stick out of the star tips and you're done!

TIPS AND IDEAS:
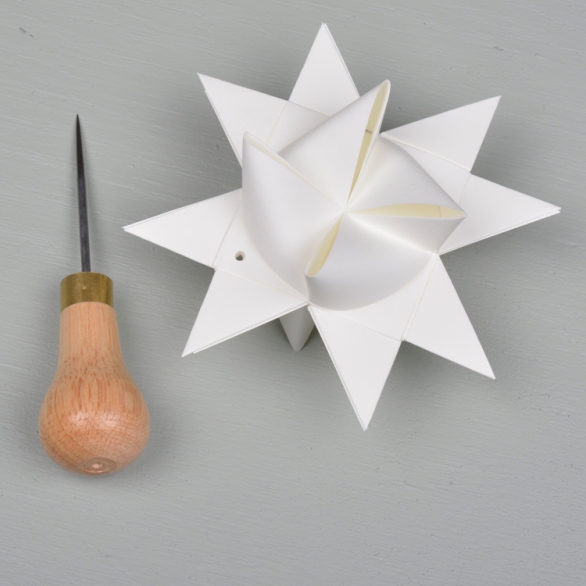
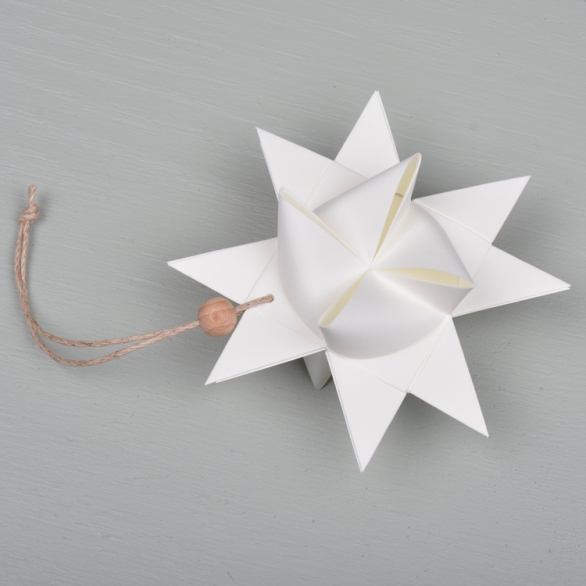
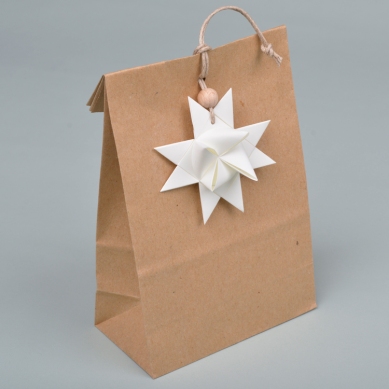
Hanging star: Use an awl and make a small hole in between two star tips. Then push a string through the hole and both string ends into a wooden bead. Then tie together at the top.
Sizes: The size ratio of the paper strips should be around 1:30. So if you make a strip with a width of 2 cm, the length must be 60 cm.
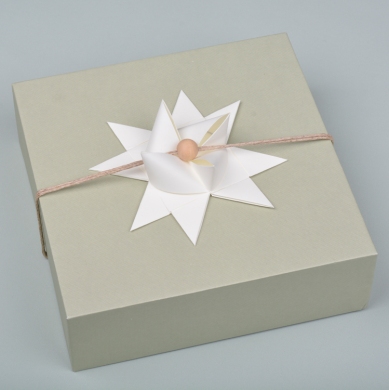
Flat on one side: A fun idea is to only make the vertical star tips on one side. Just cut away the strips on the back. Then you can use the star as a rosette or as decoration on a flat surface.